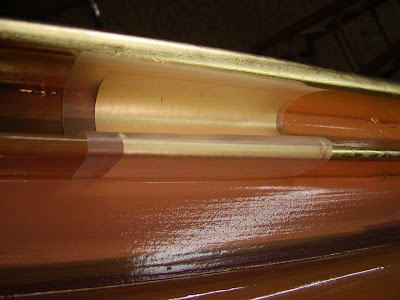
Here's 3 letters in production succession. The one to the left has been painted with a gold colored enamel and is lightly sanded. The one in the middle is then brushed with a slow drying oil size and a bit of color added. The one to the right is then gilded with 23K gold leaf.
Here's my workstation for gilding the letters. To the left I have books of gold sliced into various widths. To the upper right is empty packaging I've used up. To the lower right are full books of gold.
Another perspective.
This is a crazy mishap. After all the gold is applied, it is pushed into the slightly sticky size with a large wad of cotton. The overlaps are lightly rubbed with cotton and fall off. I collect these on a clean sheet of butcher paper and they are called skewings. I keep them brushed into a pile and they are useful for filling in corners and cracks. I use the brush at top to lift & deposit the skewings. While I'm laying gold onto the sides of the letters, this one was standing on edge, rolled part way around and plopped face down, right into my skewing pile. Oh crap!!

A galaxy of stars. The gold bits were clean except for many shed brush hairs. Get rid of those first. The nature of surface gilding is that 1 layer only of gold sticks to the tacky oil size. The size is much like a slow drying varnish that maintains its tackiness for a long time. This thin gold is quite malleable. The solution was to lay more gold over the surface and work it into the size, filling in all the micro voids. It took lots of finger tamping. The soft pads of the fingers are perfect for pressing gold into the size. The e ended up completely covered in gold. It burnished (shined) up nicely with a vigorous yet gentle rubbing of cotton. In the end it is hard to tell which e took the fall. Whew.

I acquired the signkit of a deceased sign painter from his wife. She contacted me, hoping to sell me the gold which the kit contained. I offered her a bit more and got the whole kit, filled with a stash of new lettering brushes, miscellaneous tools and stacks of gold. This is one of the books of gold, which is quite old. The book is standardized with 25 leaves, each at 3 3/8" x 3 3/8". Each leaf is loose and can fall right out of the tissue like pages.
Here's a closeup of the logo border. Only the sides and top surface have been brushed with the size. I'm using wax paper as a carrier to transport and apply the gold. The goal was to go up, over and down without any holidays. Pinholes, cracks and voids of any kind are known as holidays.
Another goal was to get a clean tear in the gold at the edge of the size. This leaves me with a large usable section of leaf left on the wax paper. The ragged edge above was what the average tear looked like.
Here is one perfect leaf, started and not yet rolled over the top and down the backside.
It is slow going and there is a lot of gold to lay on this large piece.
I only have so much time before the size becomes too dry and the gold will not stick. They make a fast and a slow drying oil size. I'm using 1/2 of each. I brushed it on in the morning and am laying gold in the evening. It was summer and by the time I was close to the end, I had to work extra hard to get the gold to adhere. Waiting longer does create a more brilliant gild though.
The small wrinkles and bubbles will get tamped down with the large wad of cotton. The loose overlaps will tear off and become skewings with gentle side to side rubbing of the cotton.
Notice the small holidays to the right side of the corner that need to be filled.
The gold is all applied, but not yet burnished.
Ok, enough closeups.
Oops, another holiday on top of that corner. You don't want to start burnishing and stick your cotton into the size. It becomes a fuzzy mess.
There's that neat word 'sign' again. The mirror quality of the gloss black background makes the letters appear to be twice as thick. A nice inexpensive way to get double your investment in gold.
The shine of gold leaf when it reflects light causes one to turn and look to see what's going on. When caught by ones periphery vision, it's hard not to react with a glance. This assures that every passerby will view the sign. Besides its beautiful qualities, this functionality makes a gold leafed sign worth its weight in _____. Oooh, that was so bad! :)


No comments:
Post a Comment